Grandma's Chest of Drawers
"This chest of drawers has been around in my family for as long as I can remember - nearly 60 years! As a little girl I can remember tiptoeing into my grandma's bedroom and very carefully opening the drawers to get a handkerchief as they always smelt of lavender. It was always a challenge as the drawer handles always seemed to clatter and make a noise.
Over 25 years ago my mum passed grandma's chest of drawers down to me, and it has been cherished and well used ever since. However, after recently downsizing, I took the difficult decision to donate the chest of drawers to Changing Lives where I have been supporting Liam in my capacity as a support worker for the past 5 years. A fellow volunteer Gill, who has become a good friend of ours, decided to upcycle the chest to give it a new lease of life. I was so happy with what she managed to do and was even more delighted when it was purchased within days of being finished, as this not only meant that Changing Lives would benefit from the sale, but it also meant the chest of drawers would receive a new lease of life in another home, where I hope it will become as beloved as it was in my family over the past 60 years."
Rowena

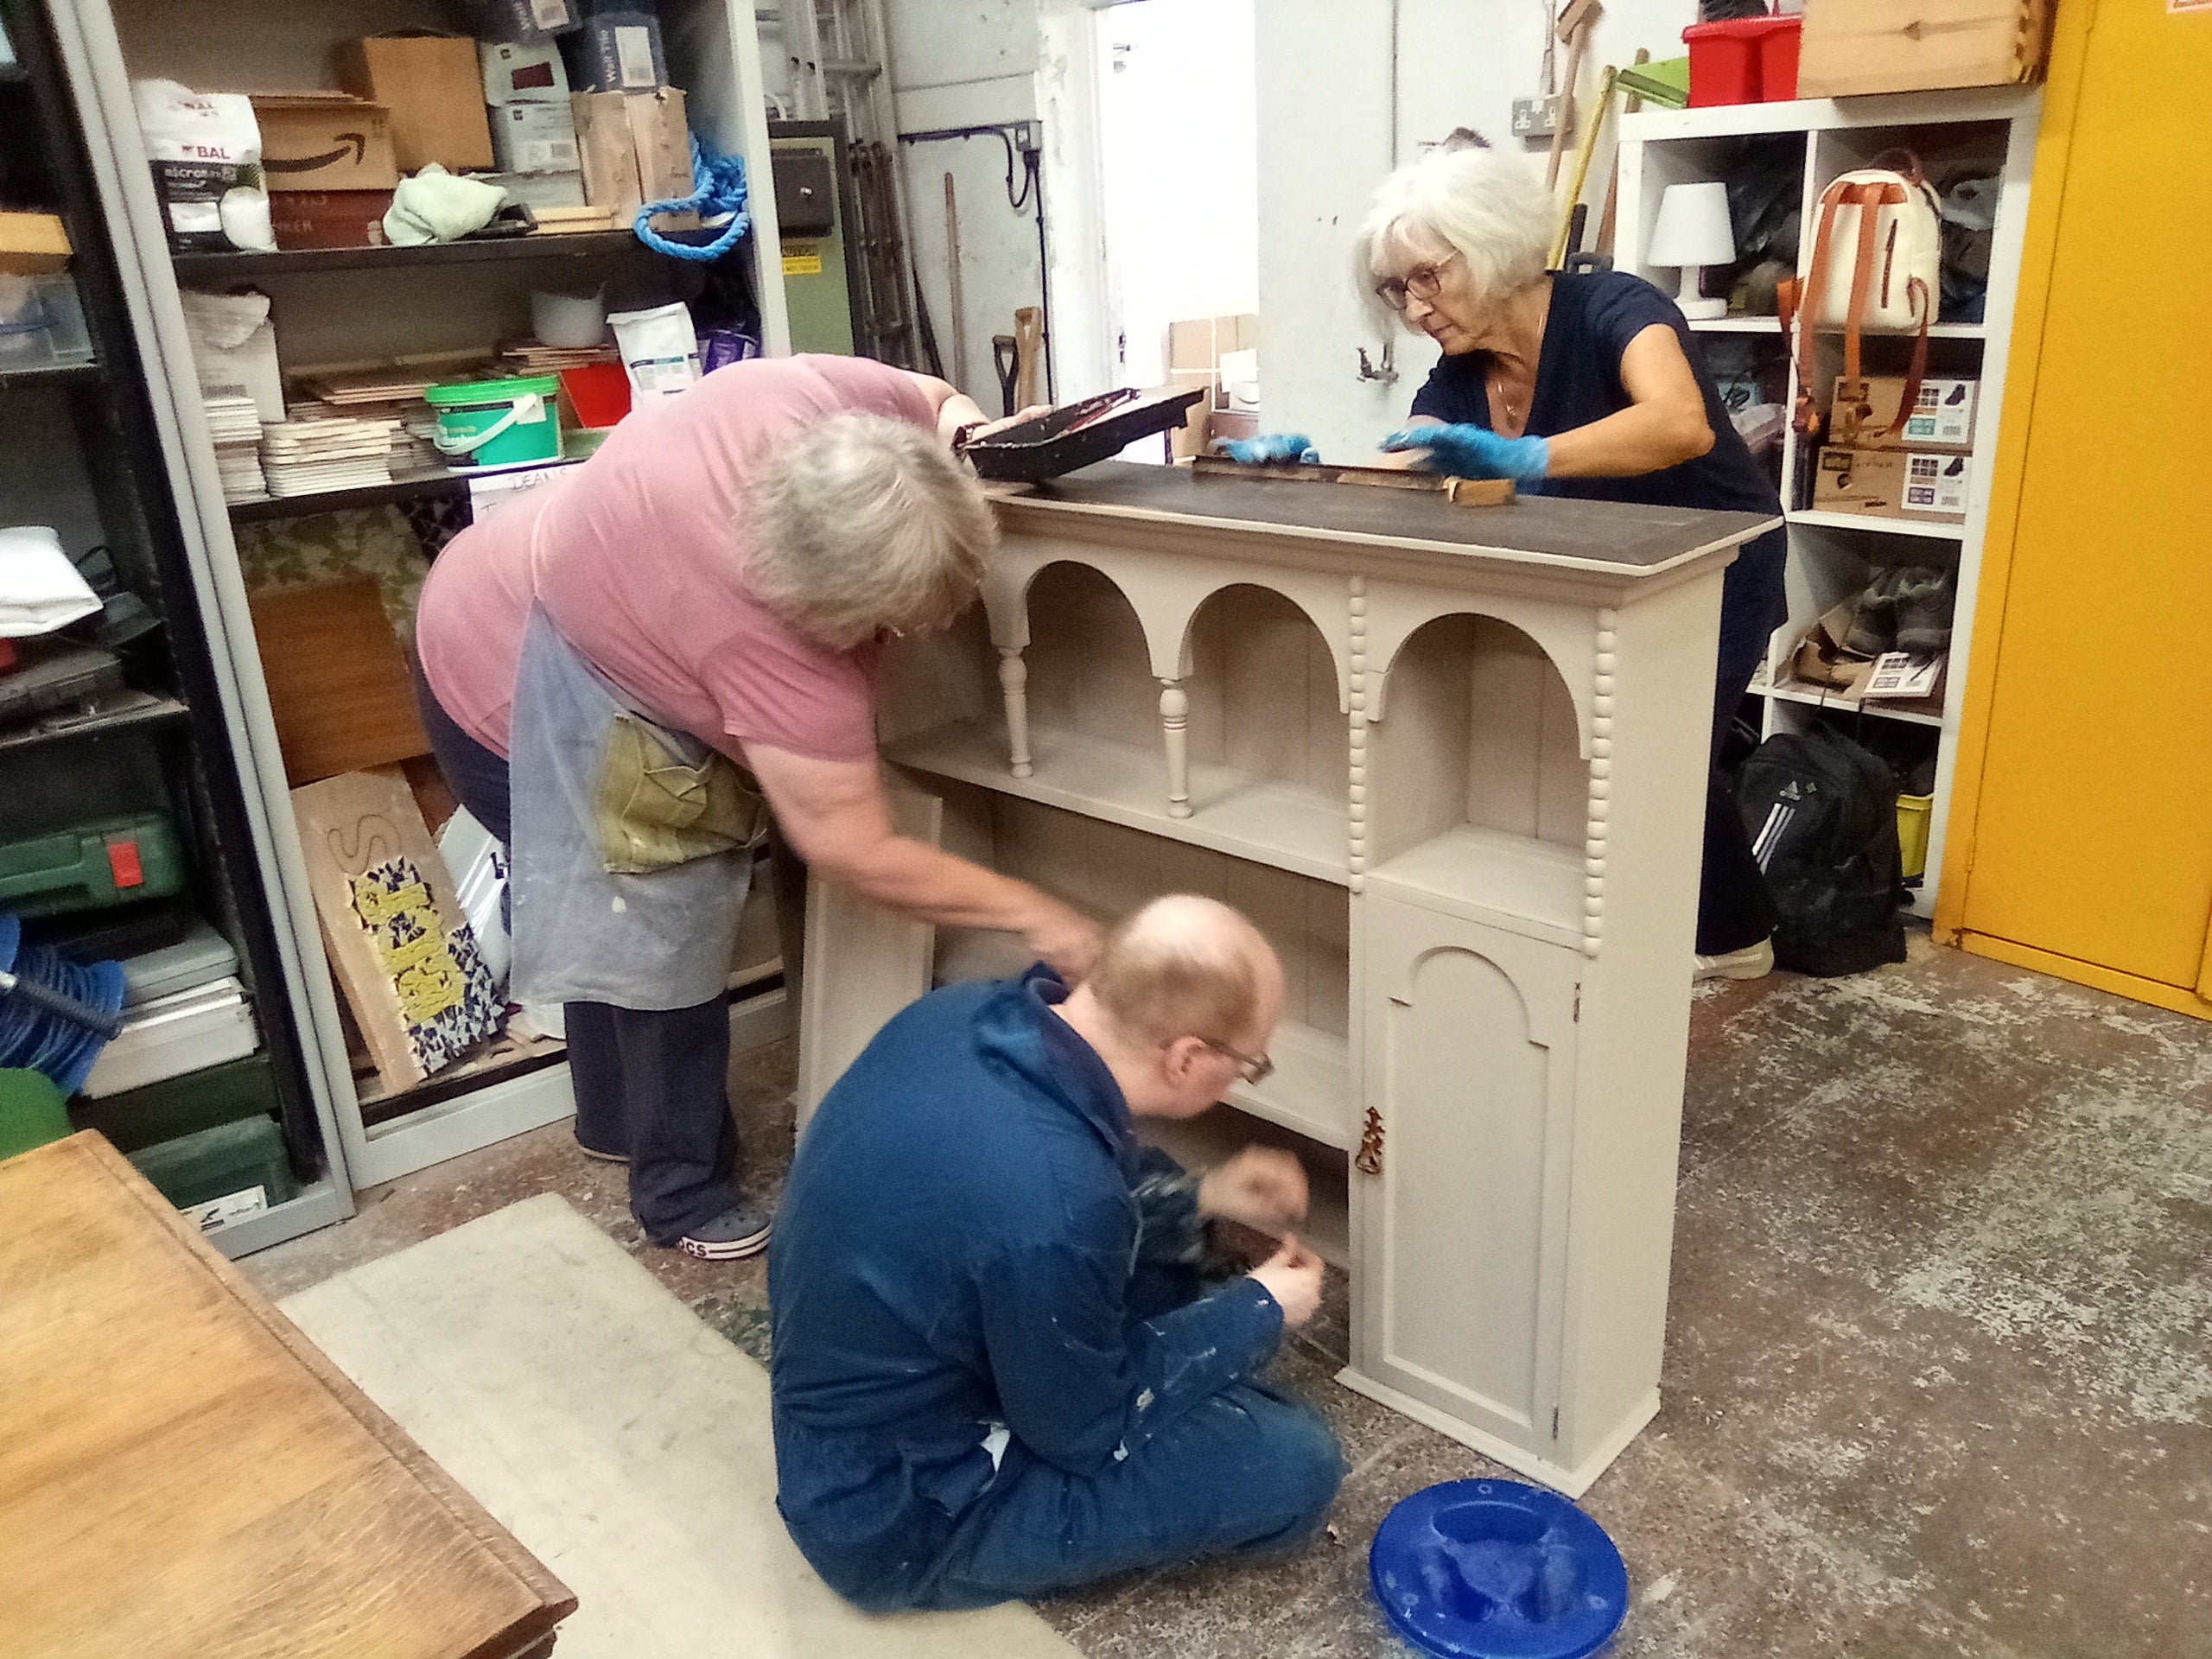
We often get asked by customers for tips on how to upcycle various pieces of furniture, so who better to give advice than one of our wonderful upcyclers. Read on for Gill's step-by-step guide on how to upcycle wooden pieces of furniture like Rowena's chest of drawers (pictured above)
Ant
Upcycling wooden items:
- If the wood is of good quality (e.g. oak or similar - not veneers), hand sand it back until the grain shows through and you are satisfied that all the varnish is removed. This will take a lot of sanding but is necessary if you plan to leave the wood 'natural'. If leaving it 'natural' apply wax to the wood and buff it with a soft cloth.
- If planning to paint all or part of the item, still sand it all over to remove any dirt/grease etc to ensure a smooth surface to paint.
- If any doors/drawers have handles on them, remove these fittings making sure you note which fittings belong where and keep them with their corresponding screws in a safe container to avoid difficulties when it comes to re-attaching them once you've finished.
- When you have finished sanding, wash the item in a solution of warm water and sugar soap, before leaving to dry completely.
- Apply your undercoat and leave to dry.
- Apply your topcoat paint and leave to dry.
- Apply a second coat of paint, ensuring a sufficient amount of time has passed between applying the two coats.
- Any drips or 'ridging' on the paint should be sanded gently off and touched up, if necessary.
- Replace all handles/doors/hinges - metal fittings can be cleaned really effectively in a solution of cola and steel wool.
- Wax the whole item, applying it with a soft, lint-free cloth (wax can also be applied with a brush, if preferred)
- Finally, if part of the item has been left 'natural', then use a wood wax to enhance the grain and then buff it. Usually, this wax is clear but if a deeper grain is required, select a suitable, coloured wood wax.
Gill


